主题
使用 VitePress 快速搭建静态站点
项目创建
我们可以通过 npx vitepress init 命令构建一个基本项目,也可以用 npm i vitepress -D 将 vitepress 安装到现有项目中。
安装完成后,通过 npx vitepress dev 命令可以启动本地开发服务器。同时项目的根目录中会多出一个 .vitepress 目录,这是 VitePress 配置文件、开发服务器缓存、构建输出和可选主题自定义代码的位置。.vitepress 目录之外的 Markdown 文件被视为源文件。VitePress 使用基于文件的路由:每个 .md 文件将在相同的路径被编译成为 .html 文件。假设此时项目的文件结构如下:
.
├─ .vitepress
├─ node_modules
├─ tutorial
│  ├─ index.md
│  ├─ step-1.md
│  └─ step-2.md
├─ index.md
├─ package-lock.json
└─ package.json
那么我们可以在站点路径 /、/tutorial/、/tutorial/step-1.html、/tutorial/step-2.html 上查看到对应的页面。
资源处理
VitePress 使用 markdown-it 作为 Markdown 渲染器,并且内置了一些 Markdown 扩展,也支持在 Markdown 文件的顶部使用 YAML frontmatter(使用 gray-matter 解析),例如:
md
---
layout: home
hero:
  name: 文燚的博客
  image:
    src: /images/words.png
pageClass: home-page
---
也支持在 Markdown 中使用 Vue 功能,例如:
md
<script setup>
import Catalog from '@theme/components/Catalog.vue'
</script>

<Catalog />
所有的 Markdown 文件都会被编译成 Vue 组件,并由 Vite 处理。常见的图像,媒体和字体文件会被自动检测并视作资源,我们使用相对路径来引用即可。不会被自动视作资源的文件可以放置在项目的 public 目录中(事实上任何文件都可以放置到 public 中),然后使用根绝对路径来引用——例如:public/images/words.png 在源代码中使用 /images/words.png 引用。
站点配置
在 .vitepress 目录创建一个 config.[ext] 文件,[ext] 可以是 .js、.ts、.mjs 或者 .mts。在该文件中导出一个站点配置对象,例如:
ts
import { defineConfig } from 'vitepress';

export default defineConfig({
  lang: 'zh-Hans',
  title: '文燚的博客',
  description: '一个记录学习笔记和个人作品的IT技术博客网站',
  cleanUrls: true,
  rewrites: {
    ':folder/(.*)/:file': ':folder/:file',
  },

  // 主题相关配置
  themeConfig: {
    nav: [
      { text: '学习笔记', link: '/catalog/', activeMatch: '/(?!portfolio/).+' },
      { text: '个人作品', link: '/portfolio/' },
    ],
    sidebar: [
      {
        text: 'JavaScript',
        items: [
          { text: '数据类型转换', link: '/javascript/types' },
          { text: '对象深拷贝', link: '/javascript/deep-copy' },
        ],
      },
      {
        text: 'CSS',
        items: [{ text: 'BFC 的特性及其常见应用', link: '/css/block-formatting-context' }],
      },
    ],
    outline: { label: '页面导航', level: [2, 3] },
  },
});lang、title、description 用于配置站点元数据。cleanUrls 设置为 true 时,生成的入站链接不带 .html 后缀。rewrites 重新定义了源目录结构和生成页面之间的映射。themeConfig 中的选项是主题相关配置。完整站点配置选项请参考官方文档。
使用 defineConfig 辅助函数将为配置选项提供 TypeScript 支持的智能提示,但仅适用于默认主题。如果使用自定义主题,辅助函数需改用 defineConfigWithTheme<ThemeConfig>,传入自定义主题的配置类型。
站点部署
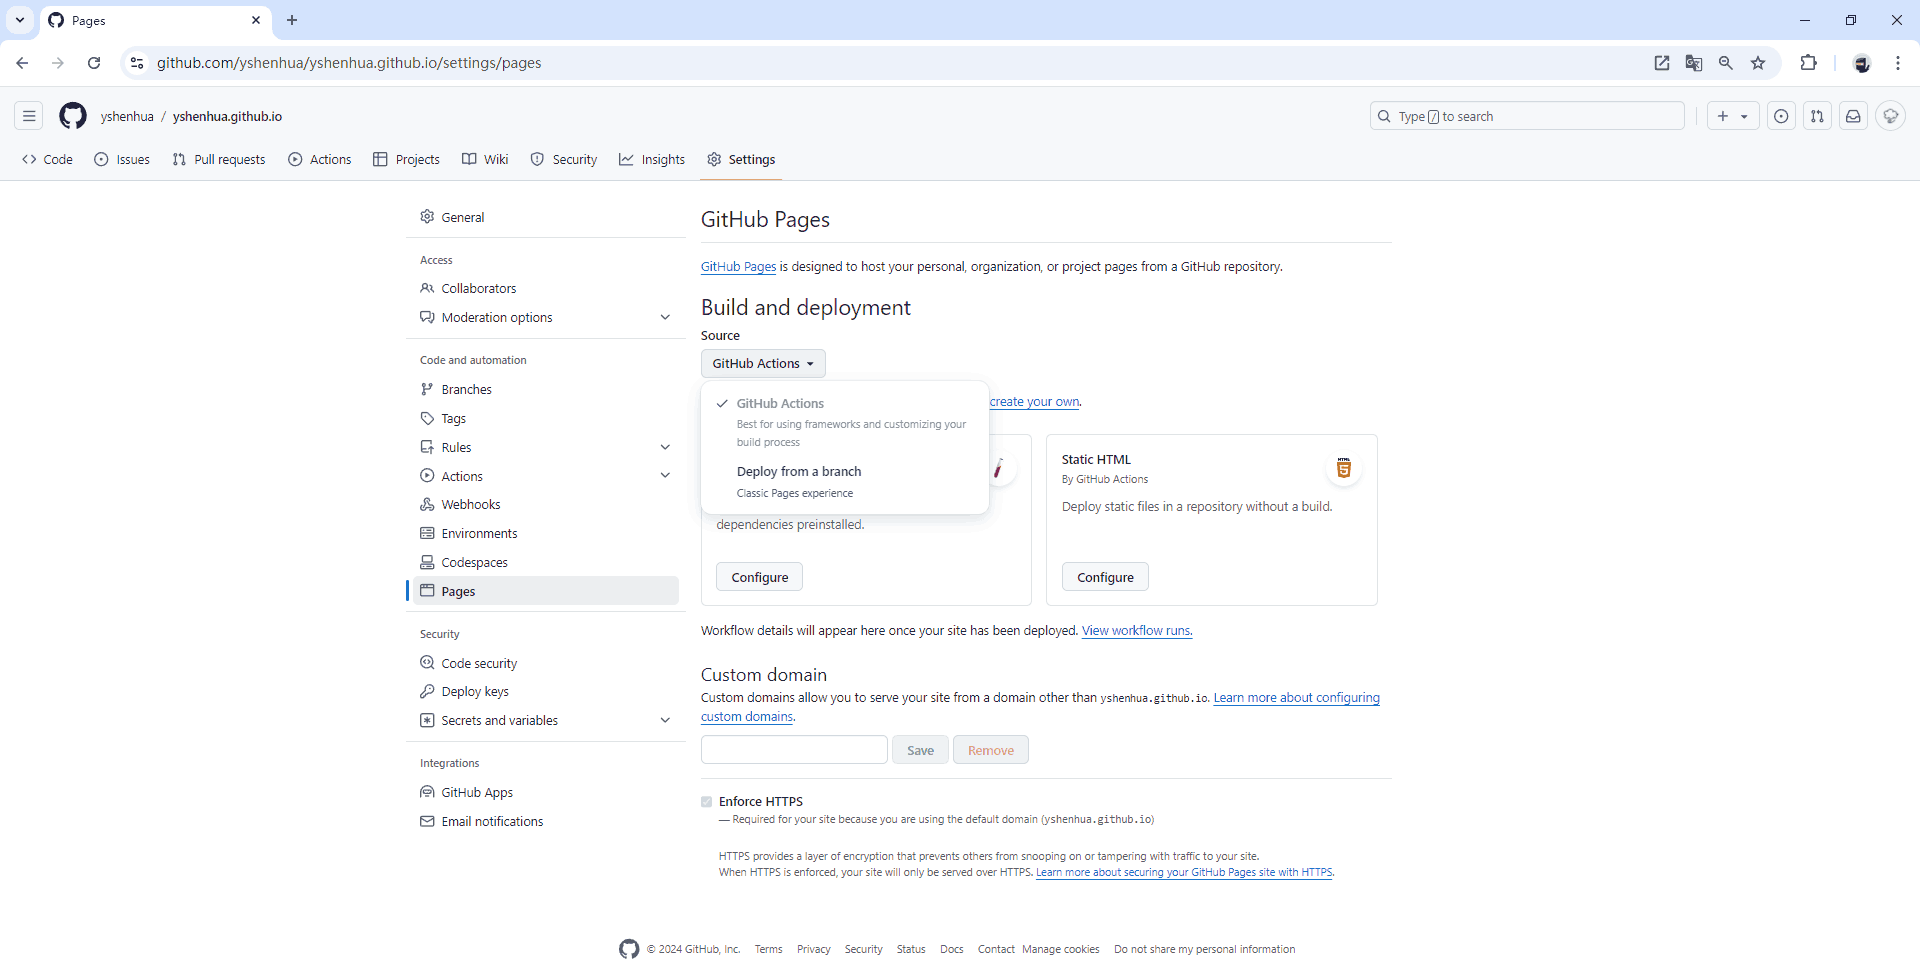
以部署到 GitHub Pages 为例,打开仓库设置中的 Pages 菜单,将 Build and deployment 下的 Source 设置为 GitHub Actions。
在项目的 .github/workflows 目录中创建一个名为 deploy.yml 的文件,其中包含这样的内容:
yaml
name: Deploy VitePress site to Pages

on:
  # 每当 push 到 main 分支时触发部署
  push:
    branches: [main]
  # 允许手动触发部署
  workflow_dispatch:

# 设置 GITHUB_TOKEN 的权限,以允许部署到 GitHub Pages
permissions:
  contents: read
  pages: write
  id-token: write

# 只允许同时进行一次部署,跳过正在运行和最新队列之间的运行队列
# 但是,不要取消正在进行的运行,因为我们希望允许这些生产部署完成
concurrency:
  group: pages
  cancel-in-progress: false

jobs:
  # 构建工作
  build:
    runs-on: ubuntu-latest
    steps:
      - name: Checkout
        uses: actions/checkout@v4
        with:
          fetch-depth: 0 # 如果未启用 lastUpdated,则不需要
      - name: Setup Node
        uses: actions/setup-node@v4
        with:
          node-version: 20
          cache: npm
      - name: Setup Pages
        uses: actions/configure-pages@v4
      - name: Install dependencies
        run: npm ci
      - name: Build with VitePress
        run: npm run docs:build
      - name: Upload artifact
        uses: actions/upload-pages-artifact@v3
        with:
          path: docs/.vitepress/dist
  # 部署工作
  deploy:
    environment:
      name: github-pages
      url: ${{ steps.deployment.outputs.page_url }}
    needs: build
    runs-on: ubuntu-latest
    name: Deploy
    steps:
      - name: Deploy to GitHub Pages
        id: deployment
        uses: actions/deploy-pages@v4
现在将更改推送到 main 分支就会触发 GitHub Action 工作流进行站点部署了。